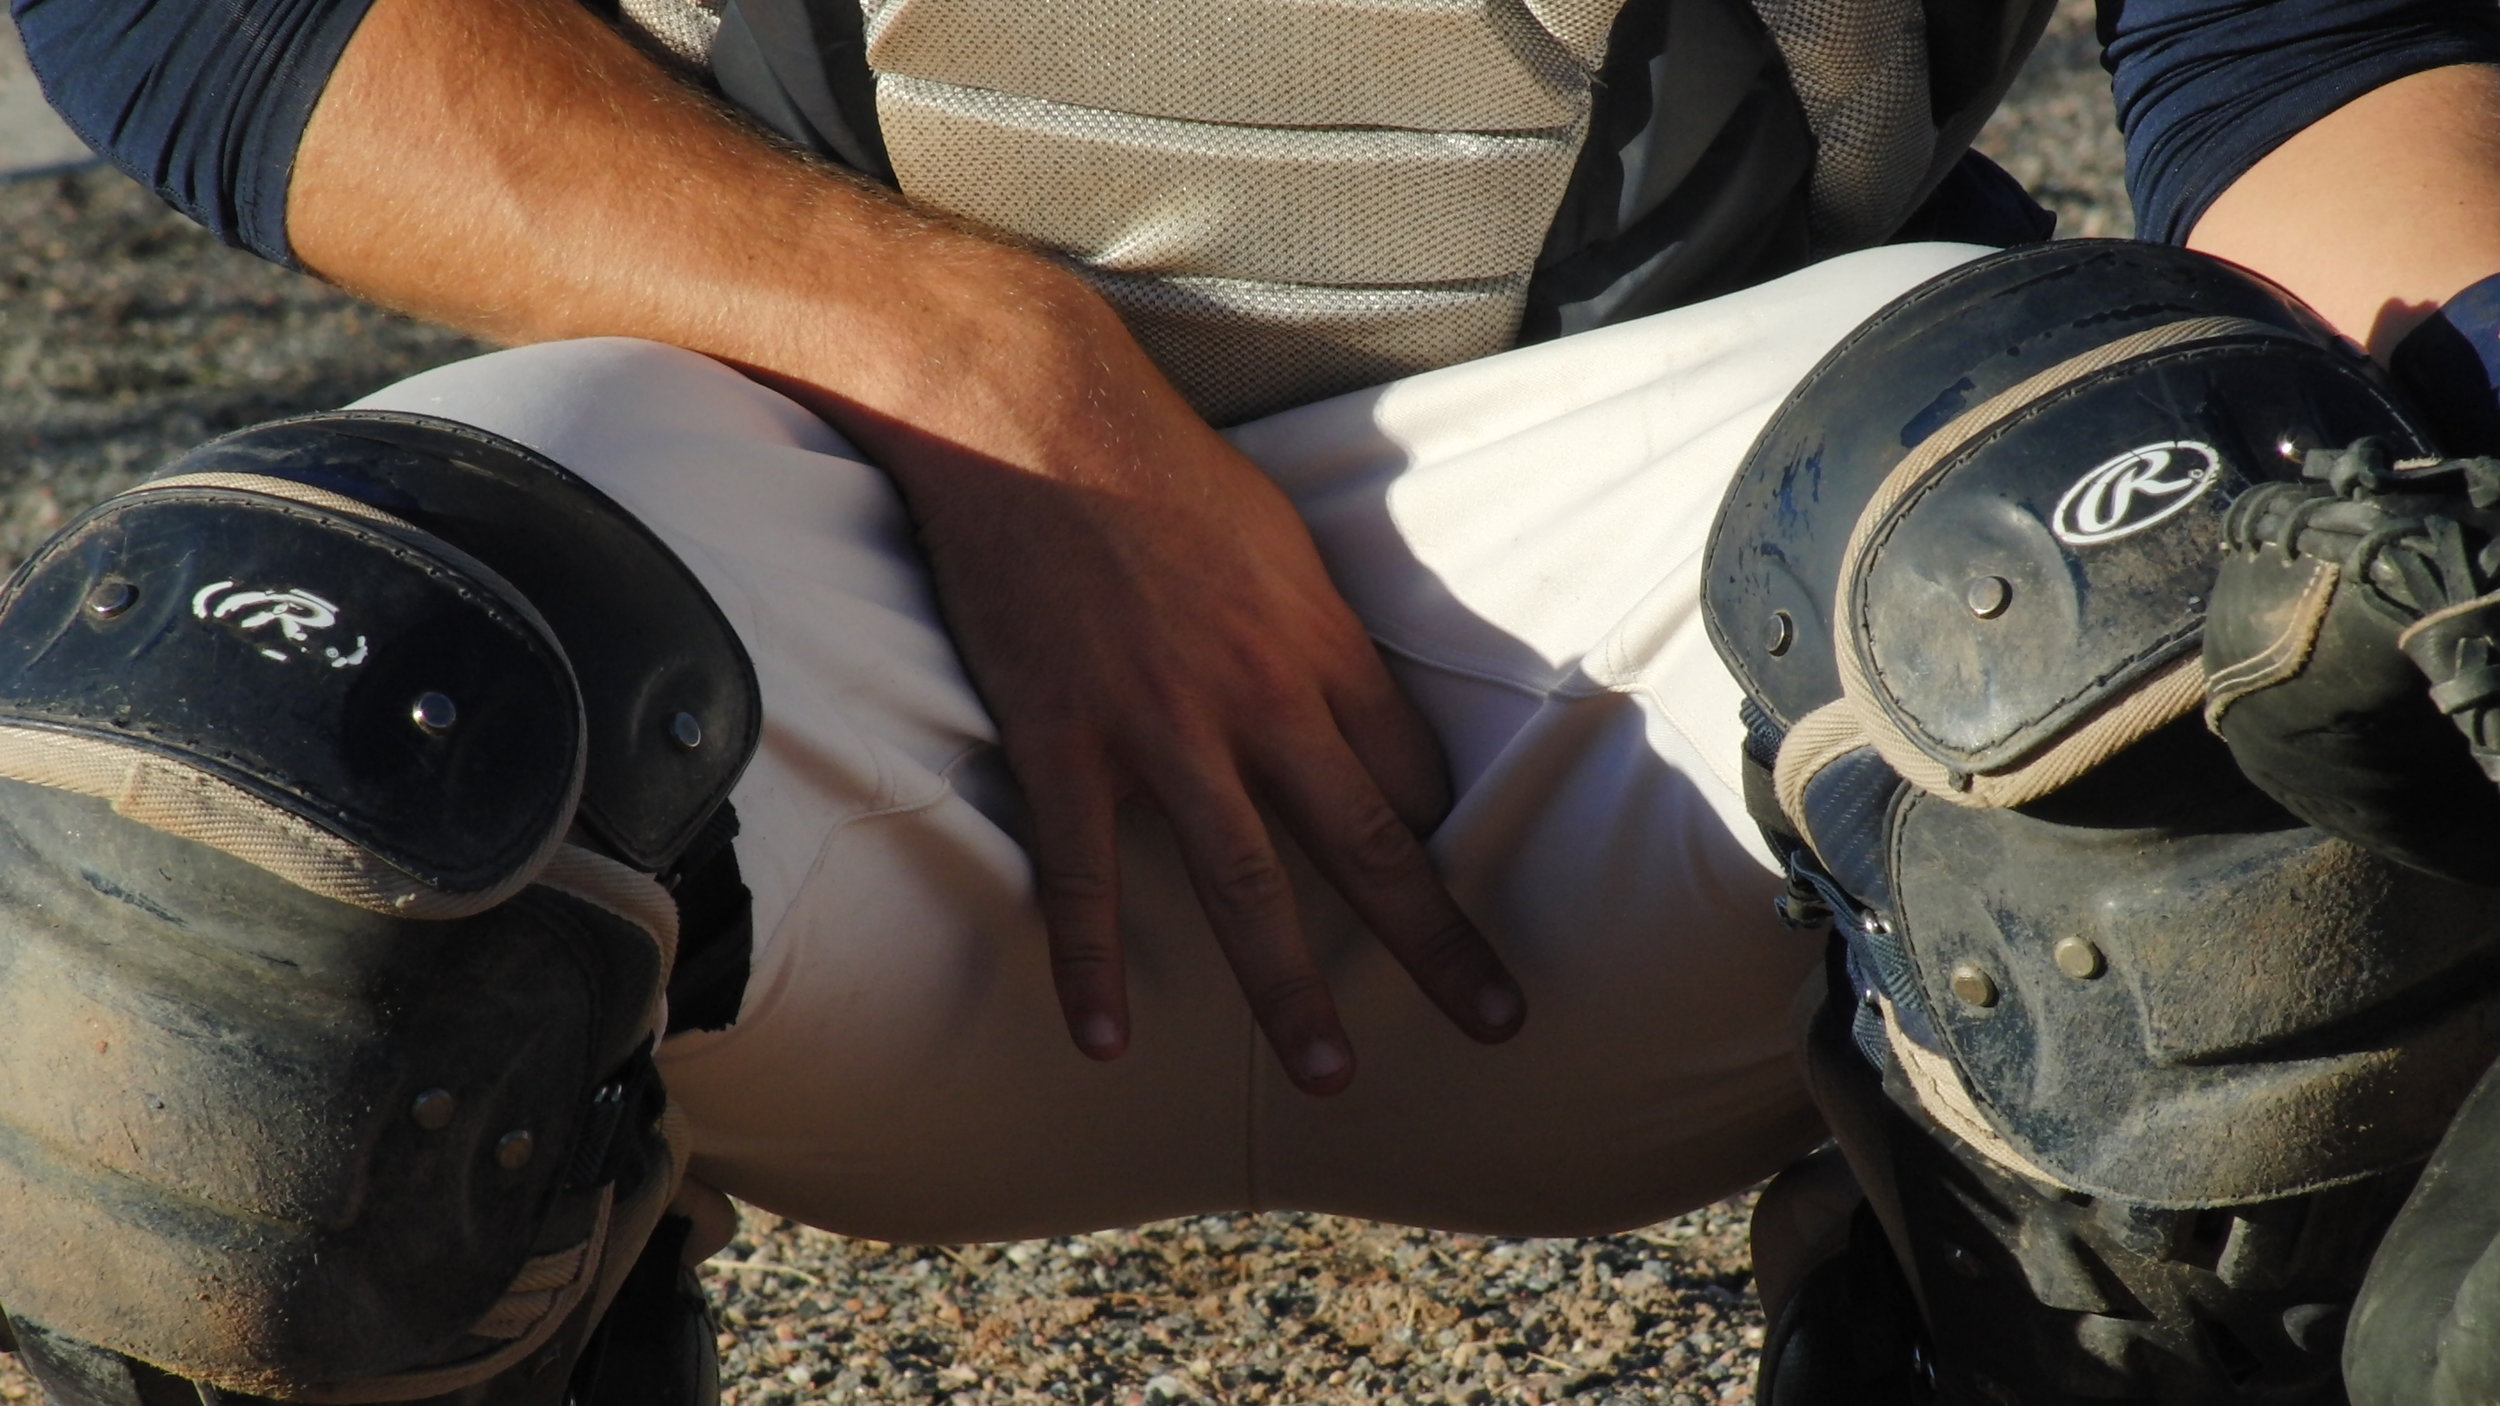
Catching Introduction and Active Warm-Up

The catcher must be athletic, intelligent, and resilient.  He knows his responsibilities and everyone else’s too. Through knowledge of the game, connection with teammates, and insights about his opponents, he instills confidence on the field.

Our catchers must be diligent in preparing their bodies on a daily basis for the grind of a season behind the dish. The video in the folder shows the following active warm-up specific to catchers (all warm-up exercises should be done wearing shin guards):

  • Side lunge

  • Stationary Spidermans

  • Stationary elbow to instep into hamstring lean w/ heel

  • Squat w/ side-to-side movement

  • Stationary hip openers into low lunge

Communication

The catcher is in charge of making sure every defender is positioned correctly and aware of the situation. Before each new batter, or each new situation the catcher should stand in front of the plate and hold up the number of outs while yelling the number of outs and what to do in the situation. For example, with a runner on 2nd and one out the catcher will hold up “1” while loudly saying, “one down, check and get one.”

Tip: Communicate with an outfielder by going through an infielder.

The catcher always gives direction where the ball should be thrown on all balls that are fielded by the pitcher or a corner infielder who is moving toward the plate. The catcher should yell the base where the ball will be thrown on base hits to the outfield or on flies with runners on base.

On outfield throws to the plate where there is a cutoff man: if the throw is on line and strong enough to get to the plate, say “leave it”. If the ball needs to be cut yell “cut” then the number of the base where the ball should go. For example, “cut 2”or “cut 4.”

Communication goes beyond the field. Between innings the catcher should be talking to the pitcher about hitters’ tendencies, the umpire’s strike zone, and anything else that might help the team be more effective.

Backing up 1st Base

The catcher is responsible for backing up 1st base on all balls hit to the infield unless there are runners in scoring position. It is especially important to back up 1st on double play attempts. If an errant throw allows the lead runner to advance past 2nd, there is plenty of time for the catcher to run back to the plate. The catcher is also responsible to trail the runner who singles so that the catcher is in position to back up a back pick attempt.

Rapport with Pitchers

In principle if a pitcher shows signs of fatigue or if he seems to be losing his composure on the mound, make a visit and get him back in the right frame of mind. Ask him if he feels ok physically. If he is injured call the coach out. If the pitcher is ok physically, talk about how you’re going to pitch the next batter. Call the infield in if necessary to insure everyone is prepared to make the next play.

Establishing Good Practice Habits

  • Always use a 4-seam grip.
  • When playing catch, side-step when catching balls that are wide. Don’t just reach with one hand.
  • Always pick up a stationary ball with your throwing hand.
  • If you have a passed ball in during a bullpen, throw the ball back and do two perfect shadow blocks before receiving the next pitch.
  • When you catch a pitcher, your throws should be just as accurate as the pitcher’s. Hit the pitcher on his glove-side shoulder with a crisp throw every time you throw the ball back

Stance

All catching techniques begin with an appropriate stance. Catchers use one of three stances behind the plate: signal stance, ready stance, and comfort stance.

The signal stance is the most relaxed and comfortable. The catcher's feet are close together, heals are up and his back is near perpendicular to the ground. When giving signals to the pitcher the glove is placed outside the left knee to block the view from 3rd base. The catcher's knees should be about 18 inches apart and the signals should be placed right up against the catcher's cup.

The ready stance is designed to be mobile, not necessarily the most comfortable. The catcher's feet should be fairly wide and flat on the ground. The weight is on the balls of the feet. The angle of the catcher's back depends on the geometry and flexibility of the individual. Some catchers are more parallel the ground, others are more vertical. The key is to be athletic. The weight distribution should be balanced and the catcher should be able to move laterally, or drop quickly into a blocking position, as well as move quickly in any direction to field a bunt or pop up. The right hand should be in a loose fist with the thumb tucked in and placed behind the glove. The upper body should be free from tension with the glove set about halfway between the catcher's chest and a full arm length. The videos in this folder show a catcher going from the signal stance to the ready stance.

The comfort stance is a modification of the ready stance. It may be used when there are no base-runners and a count of less than two strikes. In the comfort stance the catcher's feet are a little less wide and he drops his right hand to his side near his ankle (never behind the back).

The catcher's stance should always enable the catcher to receive pitches with a solid foundation and allow for quick reaction to balls hit near the plate area.

In the past few years, a new stance and method of receiving has been employed at all levels of baseball. This one-knee method is not new to the game, but it’s wide application has given catchers another option for a stance to use in some, or all, situations. Below is an image of the stance and this link will take you to a Five Thirty-Eight article about how one catcher’s change led to huge improvement in his game.

2-oclock-center-body.gif

This stance and modified “down-to-up” receiving method can allow the catcher to steal more low strikes than the more traditional method. Take a look at this video for a quick analysis of the contrasting styles.

Signs & Signals

It is important that our catchers are excellent at giving signals. One of our foundational baserunning principles involves our baserunners stealing signals at all bases. Our catcher’s should always be aware of this and make sure to give signals properly. To reiterate, when giving signals to the pitcher the glove is placed outside the left knee to block the view from 3rd base. The catcher's knees should be about 18 inches apart and the signals should be placed right up against the catcher's cup.

At all times, the catcher must use a 3-sign sequence. The 1st sign is the pitch, the 2nd sign is a dummy, and the 3rd sign is the location of the pitch. Pitches should be in this sequence:

1- Fastball
2- Curveball
3- Slider/Cutter
4- Change-up
5- Split/Knuckleball/Etc.

Location signs are easy to remember: odd is outside and the higher number is higher in the zone. So 1 is low and away, 2 is low and in, 3 is high and away, 4 is high and in. 5 is a pitch right down the middle while a “Hang Loose” sign means to throw the ball in the “Box,” a low pitch over the heart of the plate at the shins. Pitchout and Pickoff signs will be determined by coaches and players throughout the season as necessary.

Tip: You may find it useful to work out two different ways the pitcher can shake off the sign. One way (shake the head) means not that pitch; another way (shake the glove) means yes on the pitch but no on the location.

Tip: Sometimes the pitcher may have difficulty seeing your signs. If so, devise an alternative method. For example, give the signs by the position of the glove in the signal stance. Back of glove to pitcher = fastball, palm of glove to pitcher = curve, glove touches ground = change up; while all of the standard signs are decoys.

Tip: With a full count (possibly in a 1-2 count as well), catchers should incorporate a “wiggle” of the fingers to ask the pitcher to shake off a sign. This “fake shake” tells the pitcher to fiddle with the ball in his glove before throwing the pitch, giving the hitter the impression that he is throwing a breaking pitch, but he actually throws the fastball. This may allow the pitcher to get the fastball past the hitter. If the catcher has used the wiggle more than once in a game already or against the same hitter, do the same thing but throw the breaking ball.

Receiving - New School and Old School

A catcher's receiving mantra is “quiet body, firm hands.” A quiet body means that the catcher minimizes body movement as he receives the ball. Excessive body movement distracts the umpire and makes the pitcher appear less precise.  Firm hands means that the catcher does not allow the ball to move the catcher's mitt away from the strike zone. Firm hands does not mean hard hands. The hands are still soft and relaxed but the ball is “stuck” in a way that gives the umpire the best view of where the ball crossed the plate. Keep the toe of the glove up on borderline low strikes.  Note how quiet the pro catcher’s body is in the Miami Marlins video.

A ball in the middle of the catcher's stance is caught with the left thumb at 2 o'clock. Pitches caught to the catcher's right the thumb is at 4 o'clock. Pitches caught on the catcher's glove side are caught with the thumb at the 1 o'clock position. The wider the strike, the more the catcher will extend to meet the pitch. A good pitcher's fastball will tail away from the edge of the plate so it is important to meet the pitch that is tailing so that the umpire gets a clear look. See the Creighton and Colorado Mesa videos in the folder for various bare-handed receiving drills. Tennis balls may also be used to practice receiving.

It is critical that catchers are able to recognize when pitches are clearly not strikes. If a pitch is clearly low out of the zone, the pitch should be caught palm up. If the pitch is clearly wide, the catcher should jab his foot and move laterally so that his body stays behind his glove. These early reactions will facilitate good blocking technique and make it easier to throw with good form.

As mentioned in the Stance section, a new method of catching has been implemented in many levels of baseball. This also applies to receiving as shown in the video “Stealing the Low Strike” in the Stance section of VBU. Below is a drill sequence that can help players develop the ability to grab that low pitch and make it a potential strike.

Watch the following videos for a variety of receiving drills:

Blocks

Blocking is a core skill for the catcher. The hands and body should move forward and down from the ready stance to the blocking position. Most balls in the dirt are off-speed pitches. It is helpful to move forward so that the catcher closes the angle. The catcher's hands and knees should all hit the ground about the same time. The right hand should be behind the mitt, chest angled over the ball, chin on chest, knees wide and hips sunk down. The body should be stationary and relaxed when the ball hits the chest protector. It is important for the catcher to recognize that trying to catch a ball in the dirt will increase the likelihood that the ball will get past him. Block, don't catch, balls in the dirt.

On balls that are wide, it is essential that the catcher moves his foot so that his body is centered on the ball. Some catchers initiate the lateral movement with their hands while other catchers jab their foot first. We leave the choice of how the catcher moves laterally up to what works best for the individual.

Drills

  1. Shadow blocks are a way to reinforce perfect blocking form without worrying about the ball. 

  2. Coach thrown blocks can be done at any speed and intensity. Remember that retrieving the ball is part of blocking. We also exhale in our blocking position to soften the body as part of the drill.

  3. Block and throw is a drill that simulates a block when a runner attempts to advance.

  4. No hands blocks (movie in the folder) are good to prevent a catcher from fall into the bad habit of trying to catch, rather than block, a ball in the dirt.

Tip: It's surprising how many catchers do not include shadow or practice blocks in their pre-game warm-up. For a catcher, blocking is as important as hitting and throwing. Always execute some blocks pregame.
 

Throwing Out Runners

Throwing to the bases, particularly second, is another key skill for the catcher. If you’d like some inspiration check out the highlights of Yadier Molina.

With a runner on base it is recommended that the catcher stagger his feet a few inches while keeping his chest square to the pitcher. While it is good practice for the infielders to call “runner” if a base-runner is going, catchers should understand that they are solely responsible for knowing if a runner is attempting to steal. With a runner on first, the catcher's eyes should glance at the runner as the pitcher's front foot moves, then back to the pitcher as he delivers the pitch. After the pitch, the catcher should again glance at the runner to prevent a delayed steal.

When a runner attempts to steal 2nd, that catcher should move slightly toward the ball but let the ball travel. Do not reach for the ball. As the catcher catches the ball his feet jump-pivot in line to his target. His back foot moves forward slightly to where his chin was over the ground in his ready stance. The throwing position is similar to a pitcher's power position. Shoulders are over hips, elbows are equal and opposite. The ball transfer is forward of the catcher's mid-line. Leave the mitt where it is when the ball is caught and turn the mitt palm to backstop so that the right hand can pick the ball. The transfer should occur at chest level, not the belt. See the movie “Catching-Transfer” for this example.

When a runner attempts to steal 3rd the biggest challenge is avoiding a right-handed hitter who is likely to be in our way. On most pitches the catcher will execute a step with his right foot that crosses behind the left foot to create an open lane behind the batter. Occasionally the pitch is outside and the easiest route is to throw in front of the batter. The catcher should drill both scenarios and be comfortable going in front or behind the batter. Never try and throw over the batter. See movie “Catching-Throw to Third” for this example.

Tip: If you notice a runner going before the pitcher commits to the plate, stand up and yell, “step off”. But be prepared to resume your catching stance if the pitcher goes into his delivery.

The key to making a good throw to 1B is to have your feet and shoulders line up to the target. Some catchers prefer to drive the right knee down and throw off their knees. Others prefer to stay on their feet. We leave the choice to what works best for the individual catcher. As a rule we do not attempt to pick off a runner at 1B if there are other runners on base.

Drills

  • When working on throws, emphasize form first, then speed.

  • Jump-pivots on line - see movie of the same name

  • Transfers: Play catch at short range and work on quickly picking the ball from the glove and getting into a throwing position with just the upper body.

  • Jump-pivots w/ ball: Make some throw to 2B starting with the ball in glove.

  • Throws to base: Tell the pitcher to throw to different parts of the zone.

Tip: Pop times are an important metric. Make them more meaningful by measuring the time from mitt to tag rather than mitt to glove.

Fielding Bunts

The catcher must always be prepared to get out of the chute quickly on balls hit near the plate whether the ball has been bunted or has been hit with a full swing. The fielding technique depends on which of three zones (1st base side, middle, 3rd base side) the ball is hit.

1st Base Side: Line up feet to target, field with both hands, step back with right foot to create a throwing lane.

Middle of Field. Similar to balls on the first base side except our route is banana to the ball and we don’t need to create a throwing lane.

3rd Base Side: Run straight to ball and field it with your butt facing 1st base. Pivot on your right foot to line up your feet and shoulders to the target. Note that in all three cases we do not stand straight up after fielding the ball. We get into a low athletic throwing position.

Blocked 3rd Strikes. If a blocked 3rd strike ends up in fair territory it is played identically as a bunt. It the ball ends up in foul territory up the first base line the throw may need to be made outside the baseline in foul territory. See the movie in this folder for this teaching.

Tip: If the ball is foul but still near the line, move to the fair side of the line. The runner’s lane is in foul territory and it is easier to avoid the runner if the throw says inside even if it is on the line or slightly foul.

Pop-Ups

Often the catcher does not see a pop up right off the bat. The first place to look is dictated by the location of the pitch. For example, if a right-handed batter pops up an inside pitch, turn toward 3rd base. If the pitch is in the middle of the plate or outside, turn away from that batter. As the catcher looks for the ball, the mask is held in hand. Drop the mask only after the ball is located so there is no risk of tripping over the mask.

The key to catching a ball near the plate area is to recognize that the ball will drift back toward the mound. The catcher should face the backstop to catch a popup. If there are runners on base, keep an eye on the lead runner after the catch.

Tip: Get a good jump out of the catcher’s box on popups that are far from the plate. If you think a ball might be too far, don’t give up on it and if you’re close, dive for the ball. Even if you don’t make the catch, diving for a ball demonstrates superlative effort. It gets your team fired up and sets the tone for your defense. 
 

Plays at the Plate

Force plays at the plate at taken much like a first baseman receiving a ball from the infield. The right foot is on the plate and the catcher steps to the ball with his left foot. Catch with both hands. Double play turns are done the same way. Make sure you step to the ball enough to clear yourself from any possible contact with a runner sliding into the plate. Like all throws to 1B your feet and shoulders should be line up to the target.

Tag plays at the plate can be the difference in the outcome of the game. They can also be a play that puts the catcher at risk of injury. Before the play, the catcher should be in position in front of the plate. On all hits where there might be a play at the plate the catcher should position his left foot 12 inches in front of the plate and 12 inches inside the foul line. The catcher’s left toe should point down the 3rd baseline even if the throw is coming from right field. This position enables the catcher to watch the play develop and know that a runner can cross the plate without making contact with the catcher. The left foot always points to 3rd so that the catcher has the benefit of the shin guard to protect him. It also makes it easier to pivot and make the tag after the catch. Watch what can happen if the left foot is not positioned correctly in the Buster Posey video.

On a tag play at the plate catch the ball with two hands and make the tag with two hands. Ideally, the ball should be held in the right hand and the right hand is inside the mitt. Check out the College World Series video for an excellent example of how to make a tag at the plate. Notice the position of the catcher’s left foot when the runner makes contact with him. Also notice how he has the ball secured in his right hand.

Drills
- Practice double play turns from every infielder.
- Practice tag plays from all directions including short hops and long hops.

Breaking Down Hitters

Position in Lineup

1 – Runner-Slap-Sees Pitches-Handles Bat- In?
2 – Runner? Handles Bat – Inside Out
3 – Best Hitter – Flat – Fewest Holes – Pop- Best Mix, use Pressure
4 – RBI – Pop – Holes – Down Mix – Seek Hole – Backwards
5 – RBI – Pop-More Holes-Down Mix – Seek Hole(s)-Backwards-Possible Double-Ups
6 – RBI – Pop – Many Holes- Down Mix – Seek Hole(s)-Backwards-Double-Ups
7 – Defense – Pop? – Your strengths
8 – Defense – Handles Bat – Runner? – Your strengths
9 – Defense – Handles Bat – Similar to #1 – In?

Basic Plan

1st Time Through Order – Your strengths
2nd Time Through Order – Backwards from last time, unless obvious hole
3rd Time Through Order – Backwards from backwards
RELIEVERS – YOUR STRENGTHS! “Pitch a hitter with long arms in, and pitch a hitter with short arms away.”

Hitter Awareness

Awareness that Hitter is “on you”

  1. Foul Straight Back
  2. Loud Foul
  3. “Hunch”

3 Choices:

  1. Same Pitch – Different Side
  2. Same Pitch – Different Speed
  3. Different Pitch

Position on Plate

ON Plate – Thinks he can get to anything on the inner half – prove it!
OFF Plate – Likes extension – ATI/XPA
UP in Box – Not afraid of velo, afraid of off-speed – SUSD
BACK in Box – Afraid of velo, not afraid of off-speed – SUSD to get to best fastball

Barrel - Swing Plane - Bat Speed

SLOW Bat – Challenge with velo – set up velo
FAST Bat – Must “pitch” – SUSD – Up/Down – Pressure
CHOP Swing – Down, In, Occasionally up
LOOP Swing – Down, In, if up-get it there!
FLAT Swing – Mix
UPHILL Swing – Away, Up, BB down – make him drop barrel

Feet

DOES HE GET FRONT FOOT DOWN?  If no, beat with velo all day!
Open – Stays Open – Away
Even – No info
Closed – Closed – In Recognize the variations

Hips

Early Hip – Away
Riding Hip – SUSD – Breaking Ball
No Hip - In

Hands

High Hands – Down – make him drop barrel
Low Hands – Up – Get above his barrel
Regular Hands – Where is he at launch?

BP Fastball

Always away from the hitter
After a good fastball
When hitter expects fastball (0-0, 2-0, 1-0, 3-1)
Probably not between 2 slow pitches

Other Deceptions

Head Shakes – Adds Doubt
Backwards – FB in BB counts, OS in FB count
Double Ups – Good on guess hitter – do not overuse
Action Early – FB expand – BP – OS

(Notes from Derek Johnson's presentation in the Colorado Dugout Club clinic)